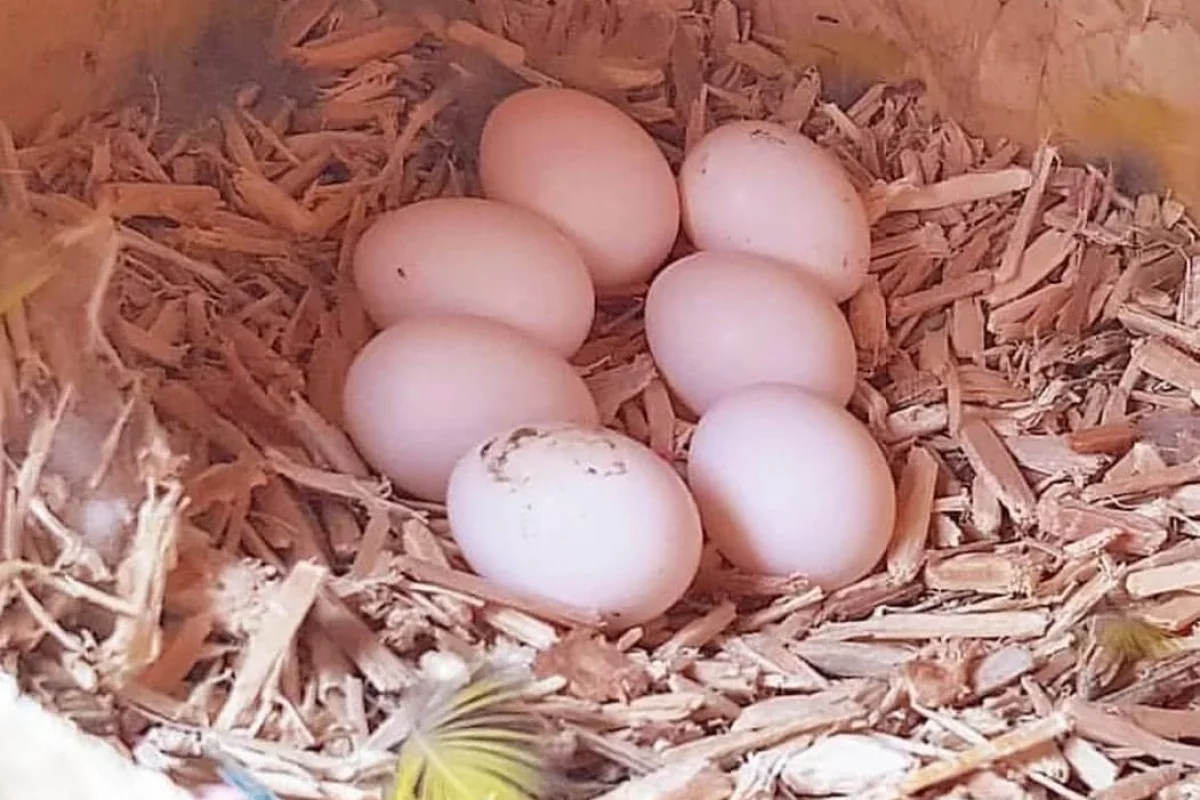
Hatching parrot eggs can be a rewarding and educational experience, whether you’re a first-time bird owner or a seasoned aviculturist. This guide walks you through everything you need to know—from choosing the right incubator to caring for the chicks post-hatch.
📦 What You Need Before You Start
Before incubating parrot eggs, make sure you have:
- Fertile parrot eggs (buy from trusted breeders like Bolton Birds)
- A quality incubator with temperature and humidity control
- Egg candler to monitor development
- Clean bedding and brooder setup for post-hatch care
🌡️ Step 1: Set Up Your Incubator
- Temperature: Maintain at 99.5°F (37.5°C)
- Humidity: Start with 40–50% during incubation, increase to 65–75% near hatching
- Positioning: Place eggs horizontally or slightly tilted; turn eggs 3–5 times daily
🔦 Step 2: Monitor Development
Use an egg candler after 5–7 days to check for:
- Vein growth
- Embryo movement
- Clear shell (infertile or non-developing eggs)
Remove any eggs that show no development to prevent contamination.
🐤 Step 3: Hatching Time!
Around day 24–28, chicks will start “pipping”—cracking the shell to emerge. At this point:
- Stop turning the eggs
- Do not open the incubator unless necessary
- Keep humidity high to prevent shell from drying
🍼 Step 4: Caring for the Chicks
Once hatched:
- Transfer chicks to a warm brooder (95°F/35°C initially)
- Feed with a specialized hand-rearing formula
- Gradually reduce brooder temperature weekly
📝 Final Tips
- Always handle eggs and chicks with clean hands
- Don’t rush hatching; allow the chick to emerge naturally
- Keep records for learning and improving future hatch success