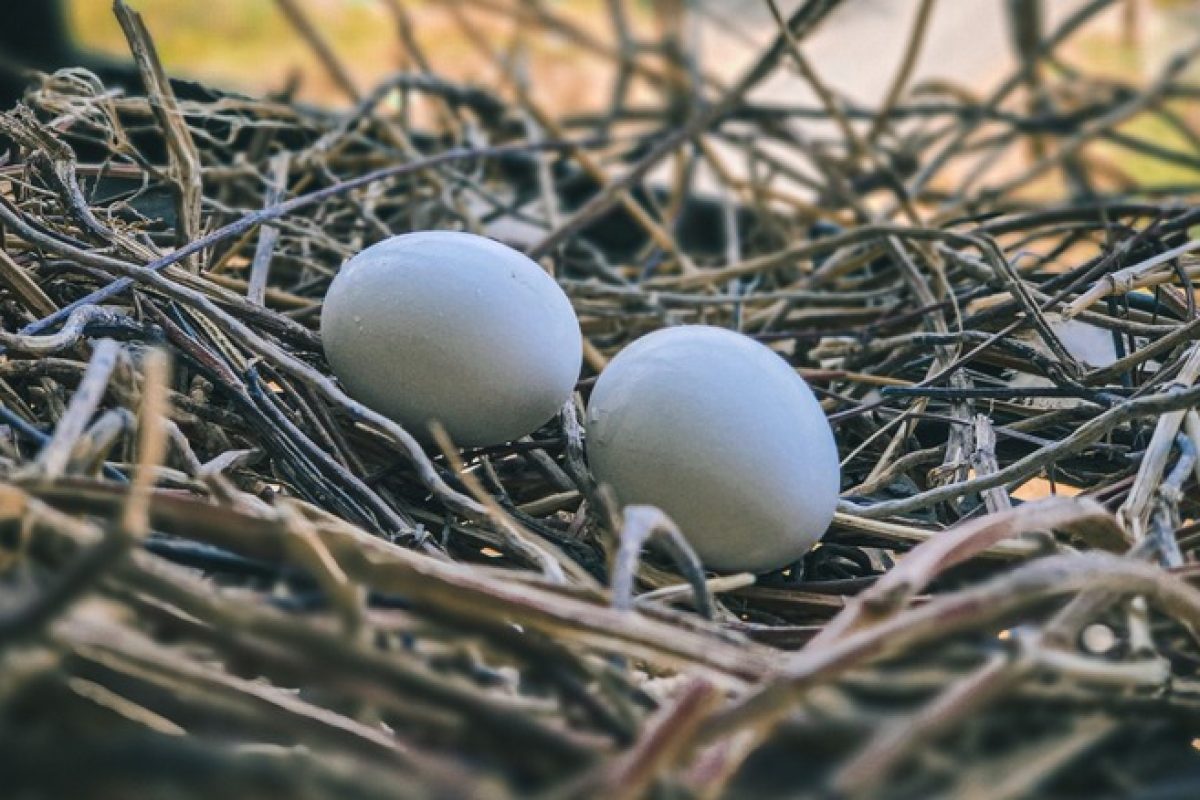
Pigeons are intelligent, gentle birds that are surprisingly easy to raise. Whether you’re starting a small loft or simply curious about the hatching process, this guide will help you successfully hatch pigeon eggs at home—from start to finish.
📋 Supplies You’ll Need
Before getting started, make sure you have:
- Fertile pigeon eggs (available from Bolton Birds)
- Small incubator with accurate temperature and humidity control
- Egg candler for checking development
- Brooder for warm post-hatch care
🌡️ Step 1: Set Up the Incubator
- Temperature: Keep at 99.5°F (37.5°C)
- Humidity: Start with 50–55% humidity, then raise to 65% near hatching
- Turning: Turn the eggs 3–5 times a day until day 15
Use a soft pencil to mark each egg with an “X” and “O” to track turns.
🔦 Step 2: Monitor with Candling
By day 5–7, candle the eggs to look for:
- Clear development of blood vessels
- Embryo movement
- Infertile or “clear” eggs (which should be removed)
🐣 Step 3: Time to Hatch
Pigeon eggs typically hatch after 17–19 days of incubation.
Near hatching:
- Stop turning the eggs
- Increase humidity to 65–70%
- Keep the incubator closed and warm
Chicks will start “pipping” (cracking the shell) and usually fully emerge within 24 hours.
🍼 Step 4: Caring for Baby Pigeons
Once hatched:
- Let them dry in the incubator before moving to the brooder
- Keep brooder at 90–95°F, and lower gradually over weeks
- Feed with a special pigeon crop milk formula or hand-feeding formula
Pigeon chicks need warmth and a stress-free environment to thrive.
✅ Quick Tips
- Avoid over-handling during incubation
- Wash hands before touching eggs or chicks
- Keep the incubator in a quiet, temperature-stable room
- Always source fertile pigeon eggs from reliable breeders like Bolton Birds