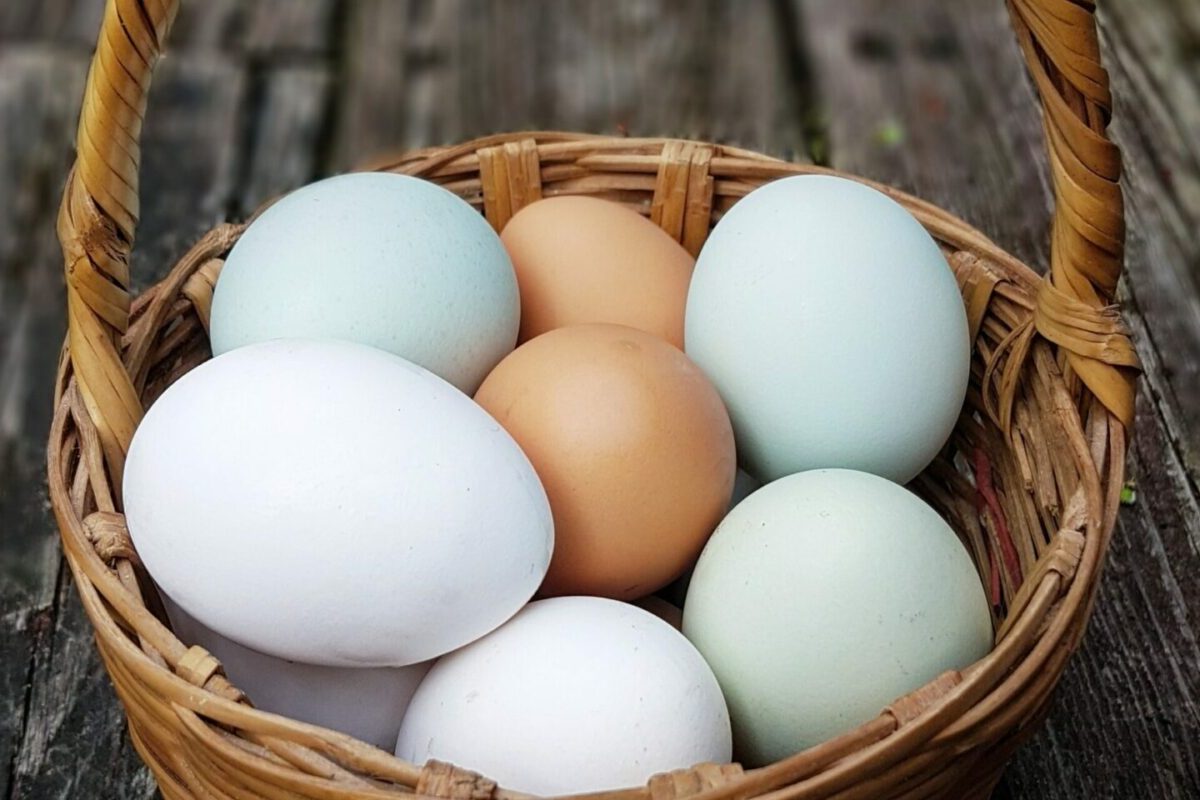
Hatching chicken eggs at home is a fun and educational project—great for families, hobbyists, and small-scale farmers. This guide covers everything you need to know for a successful hatch, from incubation to post-hatch chick care.
🧺 What You’ll Need
Before you begin, make sure you have:
- Fertile chicken eggs (available from Bolton Birds)
- Incubator with adjustable temperature and humidity
- Egg candler for monitoring development
- Brooder with bedding, heat source, and chick feed
🌡️ Step 1: Setting Up the Incubator
- Temperature: Keep at 99.5°F (37.5°C) in forced-air incubators
- Humidity: Start at 45–50% for the first 18 days
- Turning: Turn eggs 3–5 times daily to prevent the embryo from sticking to the shell
- Use an auto-turner or mark and turn manually
🔦 Step 2: Candling the Eggs
By day 7, you can candle the eggs to check:
- Vein growth
- Dark spot (the developing embryo)
- Movement (later stages)
Remove any infertile or “clear” eggs to avoid contamination.
⏳ Step 3: Lockdown & Hatching
Chicken eggs usually hatch around day 21.
On day 18:
- Stop turning the eggs
- Raise humidity to 65–70%
- Avoid opening the incubator frequently
- Watch for “pipping” (the first small crack made by the chick)
Chicks may take 12–24 hours to fully emerge after pipping—this is normal!
🐣 Step 4: After They Hatch
Once chicks have hatched:
- Let them dry in the incubator for 12–24 hours
- Move to a brooder heated to 90–95°F
- Provide clean water and starter chick feed
Gradually reduce brooder temperature by 5°F per week as chicks grow.
✅ Helpful Tips
- Wash hands before handling eggs or chicks
- Keep incubator in a stable, draft-free room
- Use clean equipment to avoid bacteria
- Always buy high-quality fertile eggs from trusted sources like Bolton Birds